
As many already know, growing your own plants from a single seed is a rewarding and economical way to a healthy garden. Using a seed starter kit is the best way to do this whether you want to start growing earlier in the season or just enjoy a more intimate look at the growing process.
Using a starter kit helps control the conditions that can otherwise hinder or prevent optimal growth. This will lead to fewer lost plants and a healthier garden overall. Here, we’ll cover everything you need to start growing your own seeds with ease.
What Is a Seed Starter Kit?
As the name suggests, a seed starter kit contains everything you need to grow a plant from as little as one seed, until it is ready to be transplanted outdoors or into a larger pot.
A seed starter kit will typically include a tray with a series of small pots or cells, each designed to contain one or two seeds and a small amount of potting soil mix. These trays are often plastic, but some are made with biodegradable materials that break down over time, meaning they can be transferred to outdoor soil along with your seedling. Some also contain self-watering systems to aid with maintenance or domes that will help control humidity levels.
While they are specifically designed for seeds, these kits can typically also be used to grow starter plants from clones or cuttings.
Why Use a Seed Starter Kit?
- Greater control over several conditions during the important germination stage
- Each seedling will optimize its use of nutrients and be easier to transplant as it matures
- Able to experiment with different techniques in the individual cells
- Greater control of a seedling’s water level
- Allows control of ambient conditions like air temperature and humidity
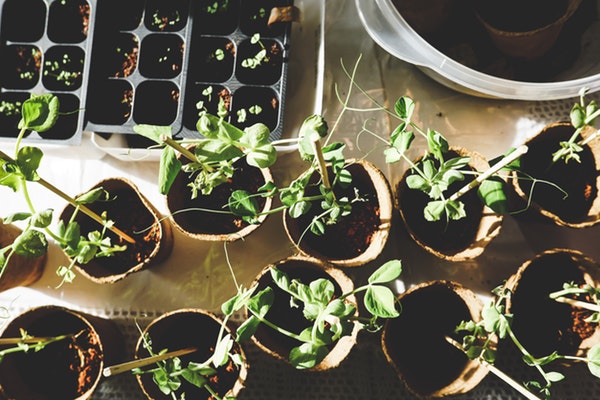
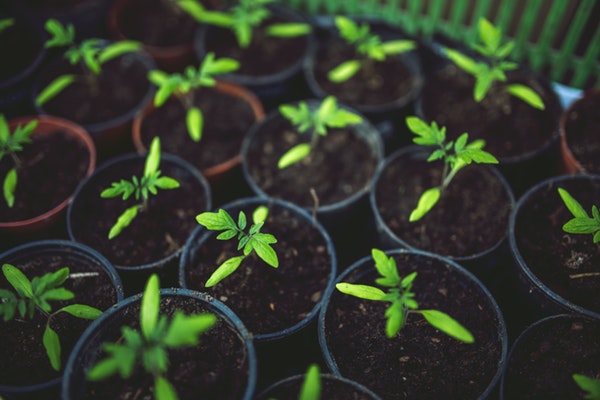
Image via Pexels
Using a starter kit allows for greater control over several conditions during the important germination stage. This will optimize healthy growth, improve your garden’s productivity, and ultimately make gardening a lot easier.
By being separated like this, each seedling will optimize its use of nutrients and be easier to transplant as it matures. You’ll also be able to experiment with different techniques in the individual cells to learn what works best for each type of seed.
Importantly, using a kit also allows greater control of a seedling’s water level, which is especially important during germination. The kit’s trays are designed for ideal water drainage, which is key to a plant’s health. Some seed starter kits include self-watering systems and greenhouse covers to help get this exactly right.
Finally, a starter kit allows control of ambient conditions like air temperature and humidity. Some kits come with heat mats to provide an optimal temperature for growth. Greater control of factors like water level, temperature, and humidity will promote healthy growth while helping avoid unwanted pests and diseases.
How Do I Grow Seeds?
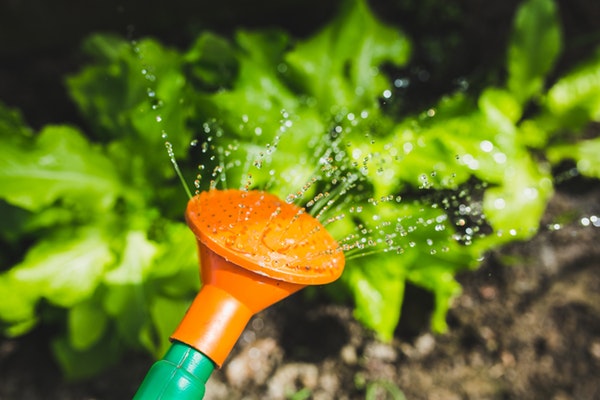
Image via Pexels
While some seed starter kits include extra features like domes, heating mats, and self-watering systems, they all require the same basic steps. Before you get started, remember that timing is everything. If you eventually want to move your plant outside, make sure the weather conditions will be favorable once the seedling has matured and is ready to transplant. Seed packets usually include instructions that will help get the timing right.
Once you’re ready to plant, it’s time to get some potting soil. Do not use soil directly from your garden; instead, you’ll want fresh soil that is made especially for seedlings. Add water to the mix, but be careful not to add too much. It should be lightly moist but still crumbly. Pack the soil firmly into the containers and make sure there are no gaps.
Now, check your seed packets for any unique instructions, including how deeply you should plant the seeds. After planting, lightly moisten them and cover with plastic wrap or a dome if your kit has one. Once the first tiny sprout appears, remove the cover.
Water, Light, and Air
From this point, you’ll need to pay close attention to water and light levels. As a general rule, keep your soil moist but not waterlogged. Smaller or surface-grown seeds tend to prefer top misting, while others benefit from bottom watering. This method keeps the surface soil dryer and thus, helps prevent disease. If you prefer the bottom watering method, consider a seed starter kit that includes an automatic bottom watering system. In this system, your seedlings basically pull water up from a reservoir as they need it. All you have to do is fill the reservoir from time to time.
You should also pay close attention to light. Face your plants south if growing them near a window and rotate them regularly to ensure even exposure. If using grow lights, place them a few inches above the tops of your seedlings and set your timer for 15 hours each day. You can raise the lights as seedlings grow taller.
Finally, make sure there’s good air movement around your seedlings to help avoid nasty soil-born fungus. If you don’t have a natural air movement, consider using a small fan near your seedlings.
When Do I Start Adding Fertilizer?
The first set of “leaves” you’ll see aren’t actually leaves. They’re cotyledons, which store food for the seed below. After these appear, you’ll see a new set of leaves that actually resemble what the mature plant’s leaves will look like. Begin fertilizing once this second set of leaves appears and follow instructions on the fertilizer packaging for the amount and frequency guidelines.
The first set of “leaves” you’ll see aren’t actually leaves. They’re cotyledons, which store food for the seed below. After these appear, you’ll see a new set of leaves that actually resemble what the mature plant’s leaves will look like. Begin fertilizing once this second set of leaves appears and follow instructions on the fertilizer packaging for the amount and frequency guidelines.
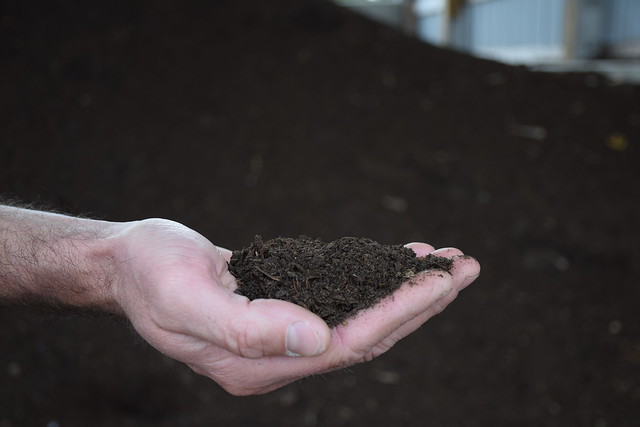
Image via Flickr
Should I Thin My Seedlings?
If you have multiple seedlings in one cell or container, it’s important to choose the healthiest one and give it plenty of room to grow. Remove the extra seedlings by snipping them at the soil line.
Moving Plants Outside
About a month after sowing, or once the plants are roughly 4 inches tall, they’re ready to move outside. To confirm, gently remove one of the seedlings from its container and check to see that its roots are beginning to fill the space. If so, it’s ready.
Once your seedlings have matured, don’t just coldly throw them outside! They’ve been coddled and cared for their whole lives, and they need a gradual transition to harsh outdoor conditions. First, about a week before planting them in your garden, place them in a protected outdoor area that is partly shaded and away from the direct wind. Leave them there for a few hours and bring them back indoors at night. Gradually expose them to more sun and wind throughout the week until they are ready for the final move. This process is called hardening off, and it helps your plant transition to a long and healthy outdoor life.
Troubleshooting
My Seeds Didn’t Grow Properly
Multiple factors can prohibit seedling growth, and most are tied to water, temperature, and light. First, after making sure you’ve given them enough time to germinate, check the seed packet and make sure you’ve met all requirements. Also, check if your seed starter kit came with any specific instructions you might have missed. If the soil was too cold and/or wet, the seed may have rotted. You can check this by digging it up and examining one of the seeds (if it’s swollen and soft, it has rotted). If the soil was too dry, the seeds may have dried up. It’s also possible that your seeds were too old. In any case, try again and make sure to get water, temperature, and light levels right.
My Seedlings Grew Too Long And Spindly
This has a few potential causes, the most common being lack of light. Try moving seedlings to a brighter area, or consider using grow lights to ensure they receive 15 hours of bright light every day. An overly warm temperature or excessive fertilizer use can also cause spindly growth.
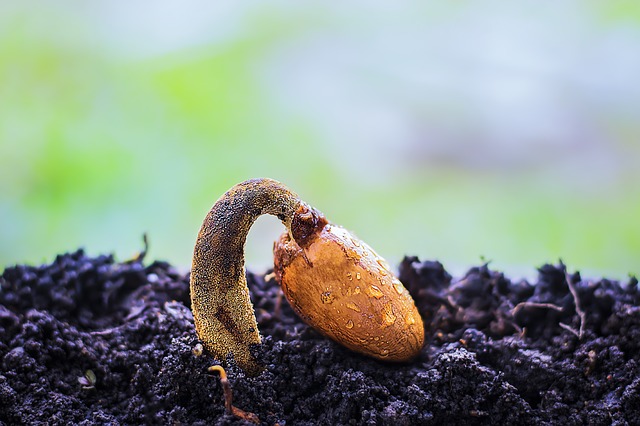
Image via Pixabay
My Seedlings Toppled Over
If seedlings have weak stems and begin to topple over, it probably means they were killed by a soil-born fungus. You can help prevent this by ensuring your seedlings get proper air circulation, or avoid it altogether by using a soilless growing mix. Once this fungus is present in your soil, it’s very difficult to get rid of.
There’s Mold Growing On My Soil
If you see mold on the surface of your plant’s soil, it’s probably because your soil is too wet. Try watering less often and make sure there is adequate air circulation around the plant containers. If natural air circulation is inadequate, consider using a small fan. You can scrape off the mold if you’d like.
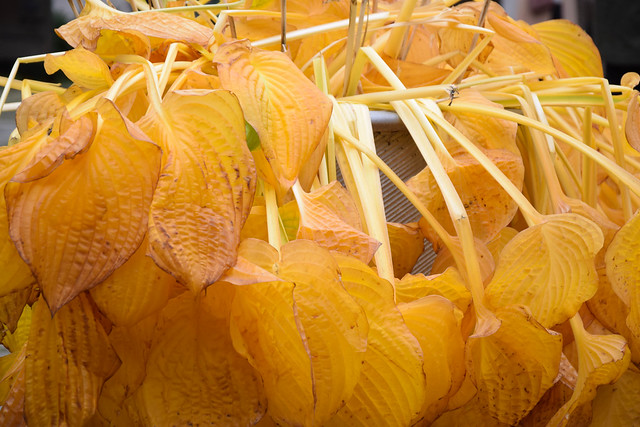
Image via Flickr
The Leaves Are Discolored
If leaves are pale or yellowish green or even purple, it’s generally a sign that the plant needs more nutrients. If you’re not already using fertilizer, it’s time to start or perhaps raise the amount you’re using. Check the fertilizer packaging and follow instructions accordingly.
Conclusion
Just like children, young plants need a great deal of care and attention when they’re young. Multiple factors can stifle growth or even kill plants at the crucial germination stage. The outdoor life is harsh; rain, sunlight, wind, and air temperature are unpredictable factors that can determine a plant’s life or death.
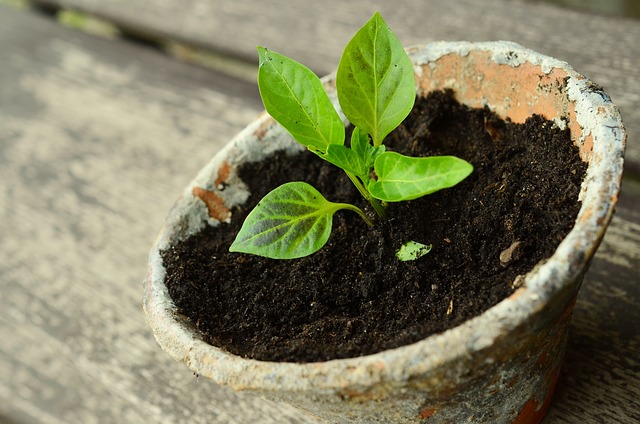
Image via Pixabay
To ensure success, gardeners often seek greater control over these ambient factors, especially during a plant’s crucial early days. Using a seed starter kit makes this process fun and easy while ensuring greater success rate and healthy garden growth.
There are many types of kits available to suit each taste whether you’re a hands-on DIY enthusiast or someone with minimal time who wants more automated help. Some kits include domes, heating mats, and self-watering systems, which may or may not be appropriate depending on your level of gardening experience or the types of seeds you’re growing. Consider all of these factors before choosing which seed starter kit is right for you and get growing!
Featured Image: Pexels


